What You Need to Self-Tape Auditions

Written by Ella Embry
March 1, 2018
Okay, so you have the perfect monologue and are ready to start auditioning for shows through online submissions. But wait, how are you supposed to film them in a professional way? Here’s a list of the equipment you’ll need to start filming, ways to use them, and a few alternatives if you’re on a tight student budget.
1. Camera
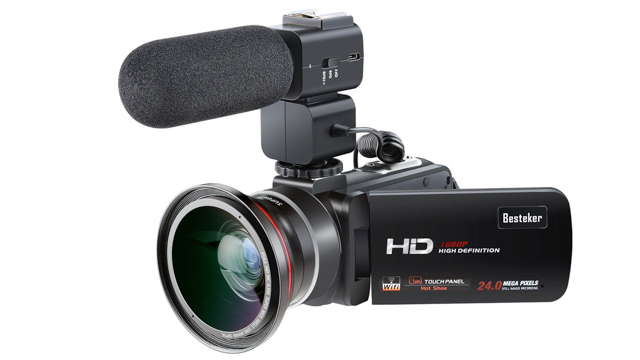
First and foremost – you have to be able to record. Using an HD camera that produces 1080p video or higher will give you some of the best footage quality for taped auditions. Some cameras, like the one listed here, come with microphones attached so you won’t have to worry about buying it separately.
Money Saving Tip: Use your smartphone if you can’t afford a camera yet! Just remember to check to see if the camera quality is good enough, that you’re filming in landscape, and that you have enough free memory.
2. Tripod
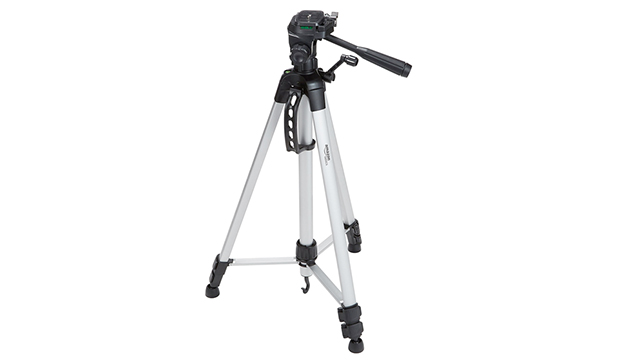
Next, you have to have somewhere to put the camera. While you can have a friend just hold it for you, all the shaking that’s bound to happen will look unprofessional. An ideal tripod is anything at or above 60”, around 5’. That way it’s at eye level and the camera will be able to look right at you as you stand and deliver your audition.
Money Saving Tip: If you can’t purchase a 60” tripod yet, opt for a smaller, cheaper one that you can put on top of a chair or stool!
3. Microphone
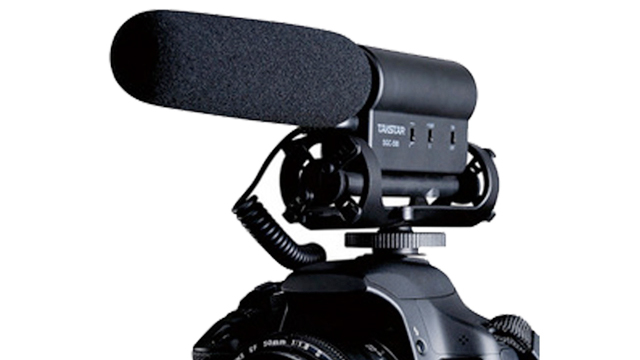
The next most important thing to get is a microphone because you have to be heard. You may think your camera or your iPhone will be able to pick up your voice well but in reality, they pick up too much background noise. If you’re auditioning for a musical with a song, a good mic is essential.
Money Saving Tip: If you have a karaoke machine or headset check to see if those microphones are detachable and can be used with other devices!
4. Lights
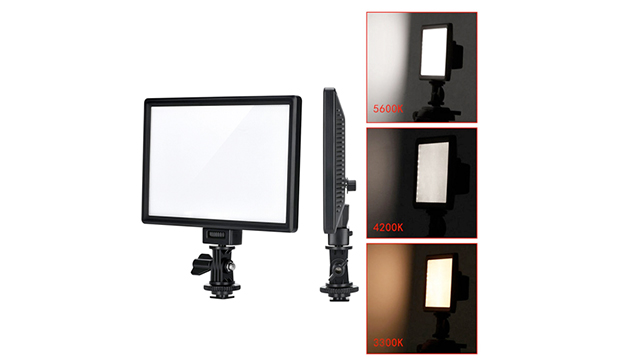
While you may be able to be seen just filming in regular daylight or your bedroom lights, you may not be able to be understood. Having good lighting will make sure that the auditors you’re sending your audition to can see all the nuances of your work. Having 2 lights is ideal – one key, or main light, and one fill, or filler light.
Money Saving Tip: Can’t afford more than one light? Try opening up all your curtains, turning on all the lights in your filming spot, and filming during the day as filler lights!
5. Something to connect phone/camera to microphone
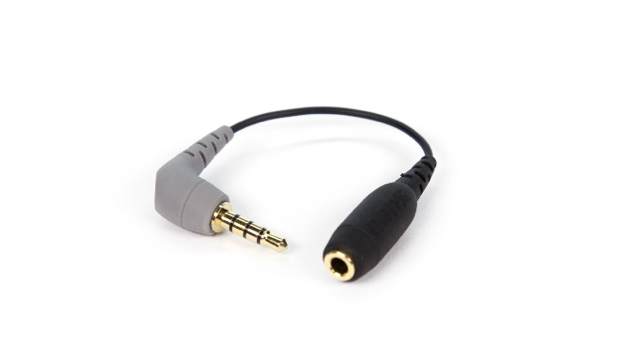
Alright, you’ve got the camera and the microphone. Now you need something to connect the two so the microphone actually works. Different smartphones use different connecting cords to check before you buy. The one listed here is for an iPhone 5 or 6.
6. Something to hold

If you’re planning on using your phone instead of a camera, you have to have a way to connect it to the tripod otherwise it will still be shaky when you try to record. Luckily, there are a bunch of filming mounts for phones that are available on Amazon and they’re relatively cheap. The one listed here can accommodate both iPhones and Androids.
7. Somewhere to film
While you might think that outside by some trees or in front of your bookshelf would be a good place to film an audition because it looks cool, I’m afraid you’re wrong. Auditors want to be able to focus on just you; not on all your cool posters. Filming in front of a blank, lightly colored (like white or soft blue) wall is ideal.
Money Saving Tip: Can’t afford to repaint or move a bunch of stuff around to get a clean wall? Use a curtain or hang up a sheet!
Need some advice? We’ve got you covered.
- The Surprising Truth About College Auditions
- 9 Useful Diction Exercises for Every Actor
- How to Bow (And What Your Bow Says About You)
- 10 Basic Rules of Stage Combat (That Keep Everyone Safe)
- 5 Advantages of Learning Stage Combat
- Don’t Be a Diva: Common Pitfalls and How to Avoid Them
- 9 Articles of Clothing Every Thespian Should Keep In Their Wardrobe
- What Makes an Actor Website WOW?
- “Is my attitude not getting me roles?” And Other Essential Questions for Actors
- 6 Steps to Memorizing Shakespeare
- 10 Tricks to Staying Healthy All Season Long
- What Does It Take to Break Into Voiceovers?
- 5 Tips for Nailing Your College Music Theatre Audition
- 10 Tips on Owning the Room at Competition
- How to Balance Theatre and Coursework
- The 10 Secrets of Great Understudying
- 10 Items Every Actor Should Carry in Their Rehearsal Bag
- 10 Items Every Dancer Should Keep in Their Rehearsal Bag